iOS開発(Swift)でCIまでを動かす際の手順です。
今回は、Xcode 9.4, Swift 4(3でも可)です。
サンプルリポジトリ:
github.com
導入するツール
SwiftLint(0.26.0)
コーディングスタイルの静的解析をしてくれます。
空行2連続など、軽微な間違いは自動修正してくれます。fastlane(2.99.1)
ビルド、テスト、デプロイなどなんでもやってくれますが、
今回はテストにのみ使います。
あらかじめ、XCTest、XCUITestを含むプロジェクトを用意します。
Swiftlint
https://github.com/realm/SwiftLint
基本的にGitHubのREADMEの通りに進めます。
HomebrewでSwiftLintをインストールします。
brew install swiftlint
プロジェクトのBuild Phases > Run Scriptに下記スクリプトを追加します。
これでビルドごとにlintが動きます。
if which swiftlint >/dev/null; then
    swiftlint autocorrect
    swiftlint
else
    echo "warning: SwiftLint not installed, download from https://github.com/realm/SwiftLint"
fi
今回は、一度自動修正をかけてから、lintを動かします。
そして、xcodeprojと同じディレクトリに.swiftlint.ymlを置きます。
設定はお好みですが、trailing_whitespaceは最初に自動生成されるコードに対しても警告を出しまくるので、
一旦止めました。
disabled_rules:
- trailing_whitespace

opt_in_rules:
- attributes
- closure_end_indentation
- closure_spacing
- conditional_returns_on_newline
- empty_count
- explicit_init
- fatal_error_message
- first_where
- force_unwrapping
- implicitly_unwrapped_optional
- number_separator
- object_literal
- operator_usage_whitespace
- overridden_super_call
- private_outlet
- prohibited_super_call
- redundant_nil_coalescing
- switch_case_on_newline
- valid_docs

excluded:
- Pods/
- Carthage/
- vendor/bundle

line_length: 300
後述しますが、CocoaPodsやCarthageのパスと合わせて、
vendor/bundleもlintの対象から外して置きます。
Fastlane
https://docs.fastlane.tools/getting-started/ios/setup/
公式ではgem installを使った方法も載っていますが、
ここではbrew caskでインストールします。
brew cask install fastlane
xcodeprojと同じディレクトリにGemfileを作成します。
source "https://rubygems.org"

gem "fastlane"
今回は、bundlerでfastlaneをvendor/bundleに置きます。
bundler自体のインストール手順は割愛します。
インストールが終わったら、fastlane initで、
テンプレートファイルを生成します。
# with bundler
bundle install --path vendor/bundle
bundle exec fastlane init
この際に、vendor/bundleにlintがかかるとビルドが通らなくなるので、
excludeして置きます。
次に、fastfile/Fastfileを編集して、laneを定義します。
今回はテストを実行するだけなので、run_testsのみを用います。
# Sample
default_platform(:ios)

platform :ios do
  desc "Test"
  lane :test do
    run_tests(devices: ["iPhone 8 Plus"])
  end
end
今回作ったlaneは次のように実行できます。
bundle exec fastlane test
テスト結果は、コンソールとfastlane以下のHTMLファイルに書き出されます。
Travis CI
まずは上記リンクから流れに任せて登録します。
GitHubアカウントの連携を許可するだけで、登録できます。
xcodeprojと同じディレクトリに.travis.ymlを作成します。
language: objective-c
osx_image: xcode9.4

script: fastlane test
今回は、fastlaneを用いるので、scriptでコマンドを指定します。
プロフィールのところから、リポジトリの一覧が出ると思うので、
そこから今回使うリポジトリの設定をオンにします。

masterブランチにのみTravis CIを通したいときは、
以下の特定ブランチのみにトリガーする設定を.travis.ymlに追加します。
branches:
  only:
    - master
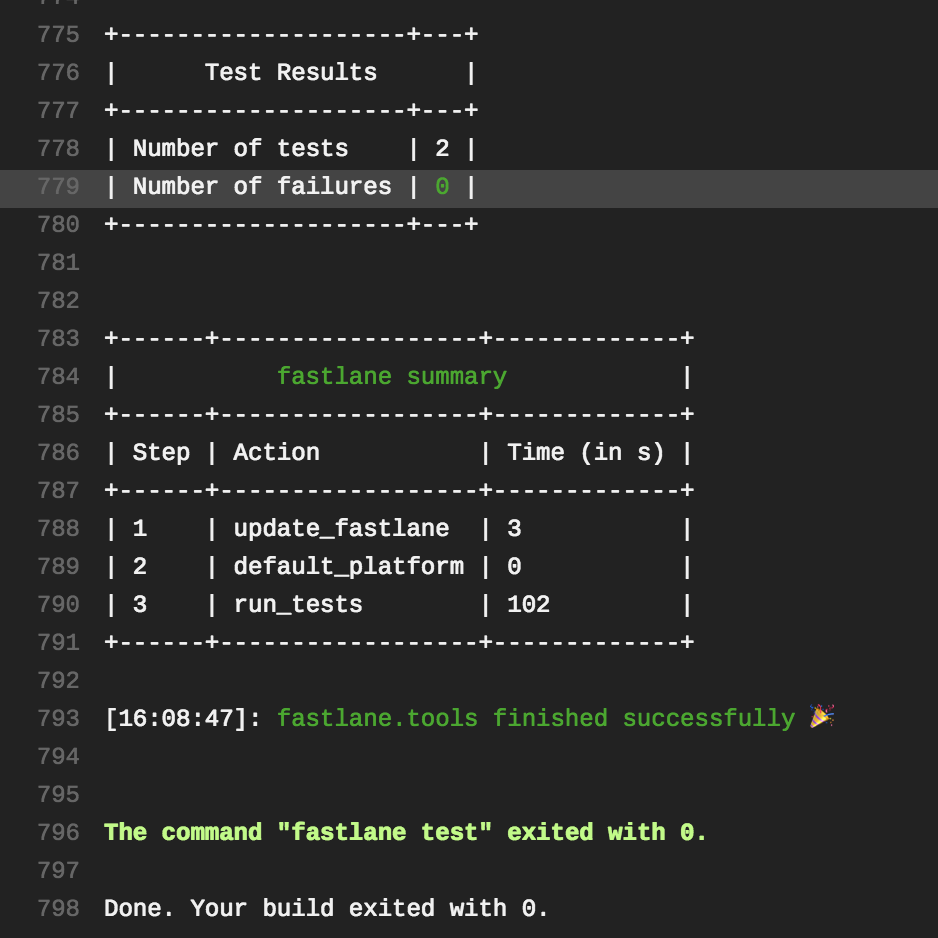
ここまで設定できると、Travisのログはこのような感じになります。

あとはGitHub側で、CIをpassしないと、プルリクがマージできない設定などを適宜追加します。
今後やること
ここまでで最小限の設定なので、もう少しカスタムしたり、
deployまで行える設定をしたいと思います。